 Let me first say this article is written with a bit of “snarkiness” born of frustration at GoDaddy. I included it for the sake of humor, but I hope no one takes offense; I know there are reasons you may choose to use GoDaddy, which is why I wrote this tutorial in the first place.
The first and best advice I can give you is not to install WordPress on GoDaddy.com. Seriously, just turn and run. Flail your arms around a bit as you go just to be sure you’re making your point. There are a host of other hosts (har har) you can choose from which have better WP support, better customer support, better security, and a better back-end UI. Personally, I use BlueHost, which took me about 10 minutes to set up even when I didn’t know what I was doing. WordPress.org also has a nice list of recommended WP hosts to choose from.
However, if you have a client who insists on using GoDaddy hosting, or if for some reason you, yourself, need to jump through their hoops, navigate their myriad of labyrinthine user dashboards, and trust to their sometimes spotty security, you’ll be glad for a guide by the time you’re done.
Avoid GoDaddy’s One-Click WordPress Application
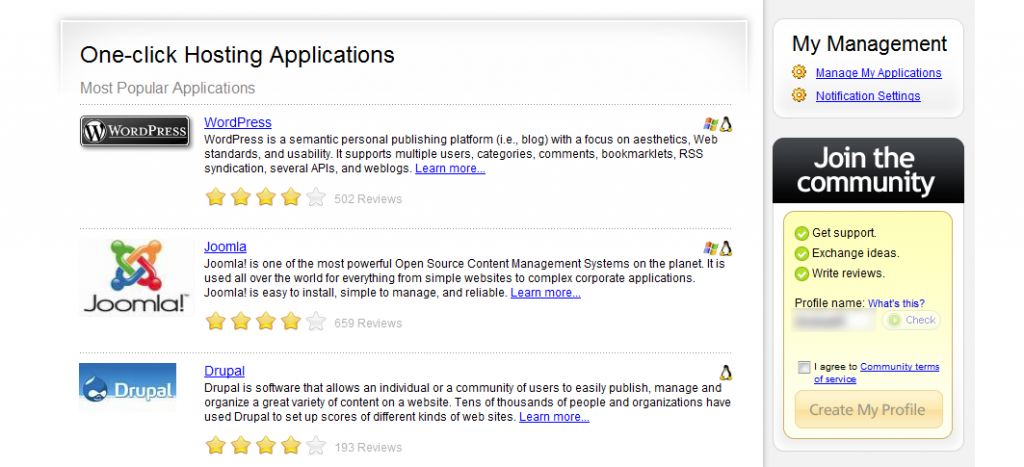
First off, GoDaddy has a “One Click Hosting Application” method of installing WordPress. For the love of all that’s secure, don’t do it that way. I’ve heard horror stories about the insecurity of the default installation procedure of GoDaddy and about how sluggish they can be at upgrading you to the latest (usually more secure) version of WordPress. Ban this page from your memory and jump through the necessary hoops to install it manually.
1. Buy Your Domain
This is your claim to the Web address your site will appear on. I’m not going to go into detail here, because GoDaddy makes it pretty easy to give them money for domains.
2. Purchase Hosting
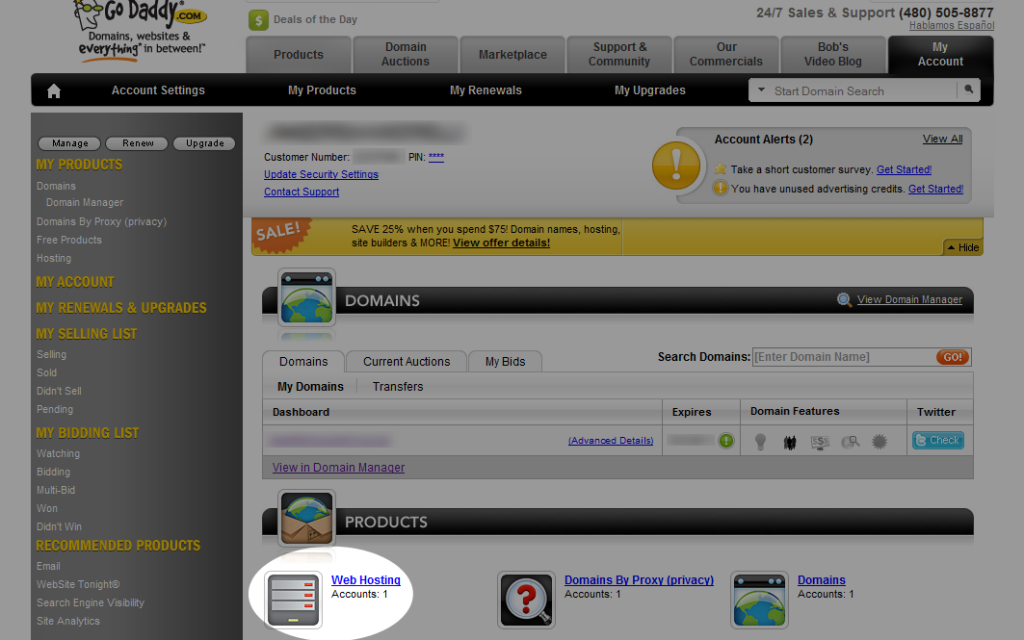
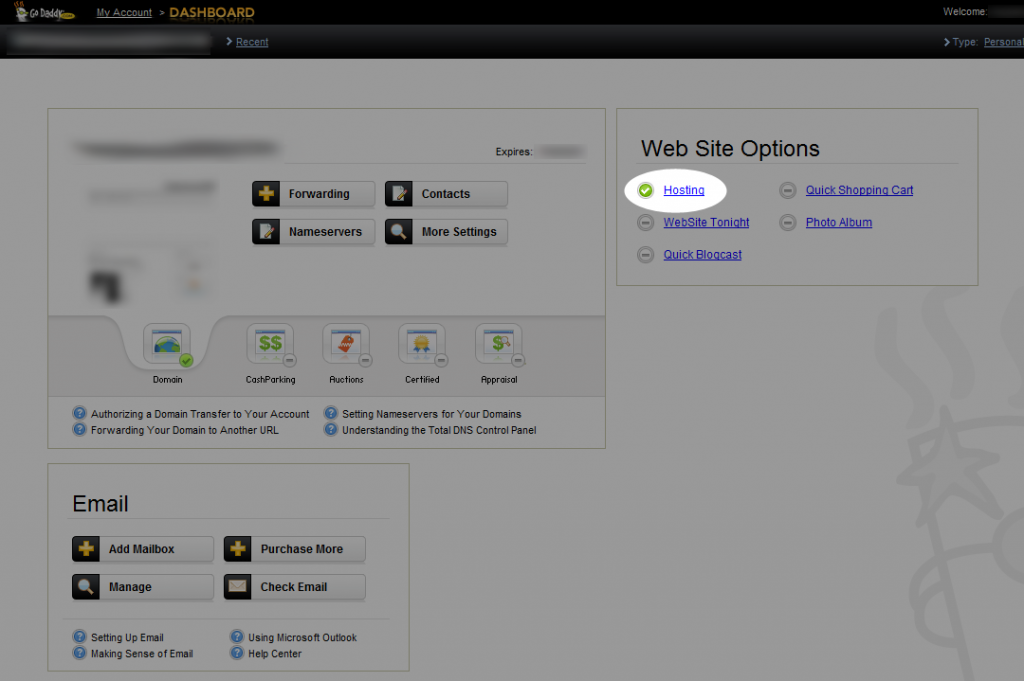
Your hosting provider is the one who actually stores the files which make up your website and provides the back-end technology to make everything tick. You can purchase GoDaddy hosting from the account start page (what you see right after you log in) under “Products” or from your dashboard (by clicking your domain name under Domains) and choosing “Hosting” from under the “Web Site Options” floaty box area on the right.
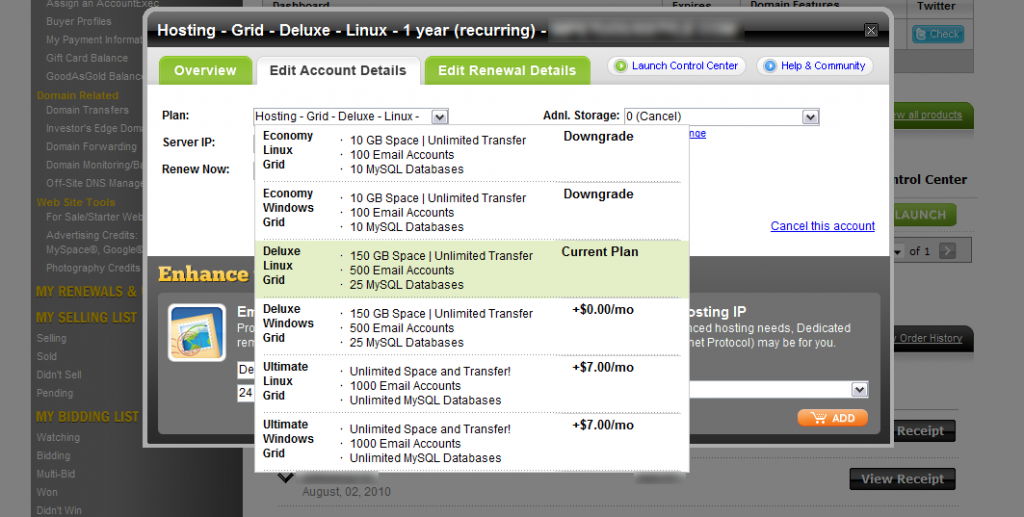
When you choose your hosting plan, go with the Linux OS option. It doesn’t matter whether you know jack squat about using Linux; you’re just choosing your website’s underlying technology. WordPress will supposedly work on the Windows version, but I spent an hour troubleshooting it and using supposed “fixes” to get it running and just kept getting errors. You also won’t have access to your site’s error logs unless you have a Linux plan. Unless you have some obscure reason that requires you to use Windows, choose Linux.
How to Switch From Windows to Linux Hosting in GoDaddy
What’s that, you or your client already chose Windows hosting when they purchased? Never fear! It’s free to alter the plan to an equivalent Linux version, once you can find the place to do it.
- You need to head back to the account start page, the one you see after logging in from GoDaddy.com, and find the Products heading.
- Click “Hosting” and you’ll see your domain name sitting happily beside its information.
- Click your domain name and you’ll get a lovely pop-over window with three tabs along the top: “Overview,” “Edit Account Details,” and “Edit Renewal Details.”
- Click “Edit Account Details” and then use the “Plan:” drop-down list to change from Windows to Linux.
- GoDaddy helpfully informs you the change could take from 1-72 hours, so go do something else for a few days. Hit the mall, walk in the park, and pretend you’re not really a slave to the glow of the computer monitor and the whir of CPU cooling fans (or is that just me…?).
3. Set Up Your GoDaddy WordPress Database
- Now you need to find the database options. For this, click around wildly until you end up at the Hosting Control Center — or click your domain name from under “Domains” on what I’ve been calling the account start page and then click “Hosting” from within the new dashboard.
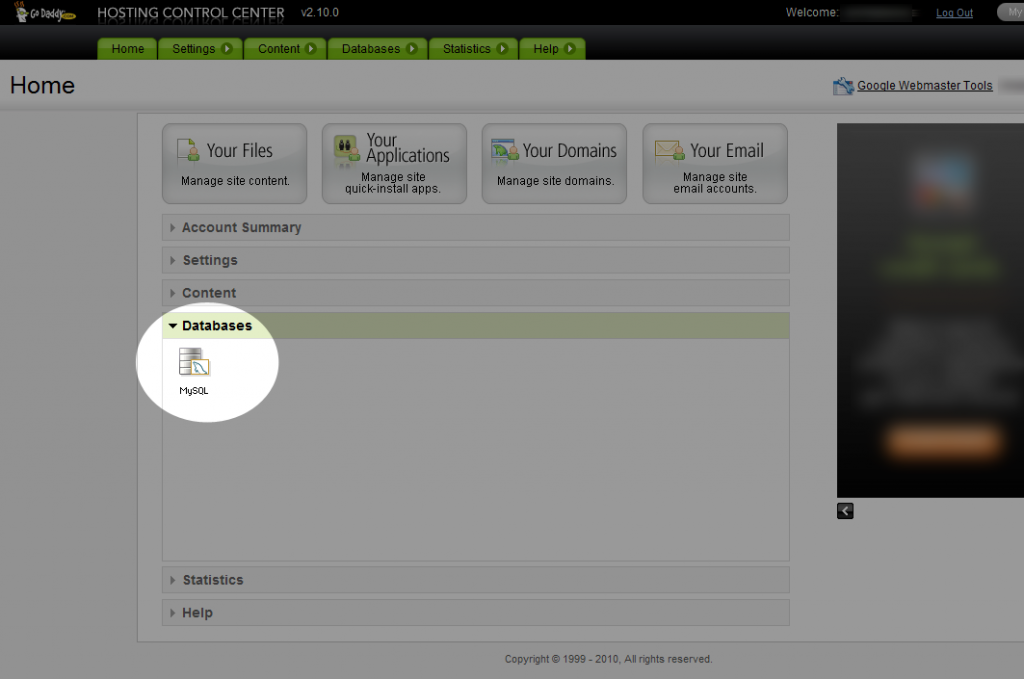
- You should see “Databases” as near the bottom of the list on the page, from where you should choose your one and only option, “MySQL.” Incidentally, if you have a second option at this point, you are probably still using Windows hosting.
- This will take you to yet another style of dashboard, your MySQL area. (It may open it in a new tab, too; I’d lost track by this point.) However, you can also get to your “content,” “statistics” and “settings” from tabs along the top, so it’s not really just your MySQL dashboard.
- Choose to “Create Database” from the button in the upper-right. This will also take a bit of time, but I’ve forgotten the time scale they quoted. I think the first one I made took 20 minutes, while another took half a day.
- Do your best to give it a non-standard name so it isn’t easily hacked (leave “wp” and the exact domain name out of it), but note that GoDaddy will restrict you on length and character options. It will also create a default full permissions user with the same name as the database – an un-circumventable security hole in the whole process. I wasn’t able to figure out how to change the user name later, but if you do, please leave it in the comments below. (As a side note, check out this article on securing your WordPress installation for some excellent security steps to take at every stage of the process.)
4. Set Up and Install WordPress Itself
- Start by following the famous 5 minute install from WordPress.org’s website.
- However! You’ll also need to change the default “localhost” value in your wp-config.php file, otherwise you’ll get an error on install informing you WordPress was unable to connect to the database. Go back to the MySQL portion of the dashboard and choose the pencil icon next to your database. Copy/paste your “Host Name:” information into the appropriate portion of your wp-config to replace “localhost.”
- Run the installer as explained in the 5 minute install guide, and for goodness sake choose a non-obvious user name and password, but write them down since WordPress knows better than to email you your password.
At this point, you should be up and running, ready to add whatever themes and plugins you see fit for SEO, security, and various functionalities. Congratulations, you just gained +1 to your Badly Designed Hosting Providers Navigation skill. Now go get a coffee and promise yourself you’ll use a better host next time. :)
EDIT: I’ve been asked a few times to recommend a host. While I haven’t found one I’m completely thrilled with, I personally use Bluehost. (Disclaimer: Signing up for Bluehost through that link will give me a kickback; however, I do not endorse any service I do not personally approve.) Like any non-premium host, there will be occasional periods of slowness and the rare unhelpful customer service rep, but for the most part I find their service reliable and their representatives helpful. InMotion has also been getting a lot of buzz in the industry lately, though I personally have very little experience with them. If you have the cash and are running a large, high traffic business, I recommend the premium host Rackspace (around $100/month), either their Cloud Sites system or, if you’re lucky enough to have your own dedicated wizard back-end developer, their Cloud Server.
Have any thoughts to share about GoDaddy, hosting, or WordPress installation in general? I’d love to hear them in the comments below.
